Getting temperature from remote sensor. Amarino Toolkit is used for my Android phone communicating with an Arduino board.
Tag: Arduino
Wireless Remote Sensor
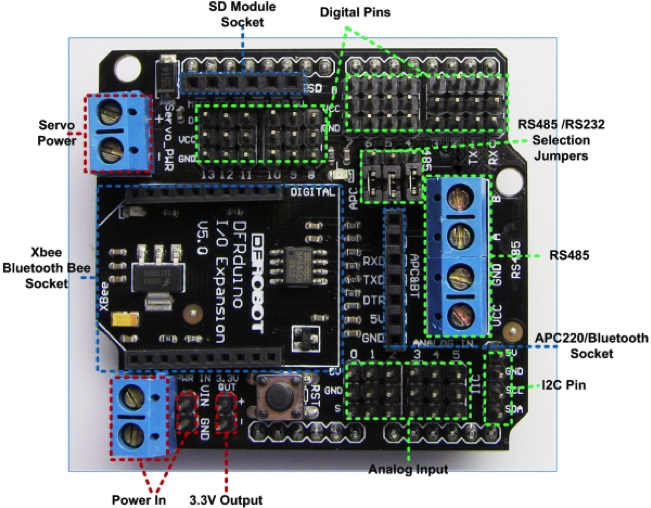
Sensor data from the ultrasonic sensor can be sent to remote machines. Many choices can be made. Here in this example, in order to send data a Bluetooth module will be used. A Bluetooth module cannot be connected to the Arduino without using an extra parts. The IO Expansion Shield from DFRobot.com is one of options.
The DF-BluetoothV3 Bluetooth module (SKU:TEL0026) is compatible with the IO Expansion. This combination makes me easier when it comes to adding a Bluetooth module. Using this we can simply add wireless capability into the Arduino. The next step is to attach the ultrasonic sensor to the IO expansion board.
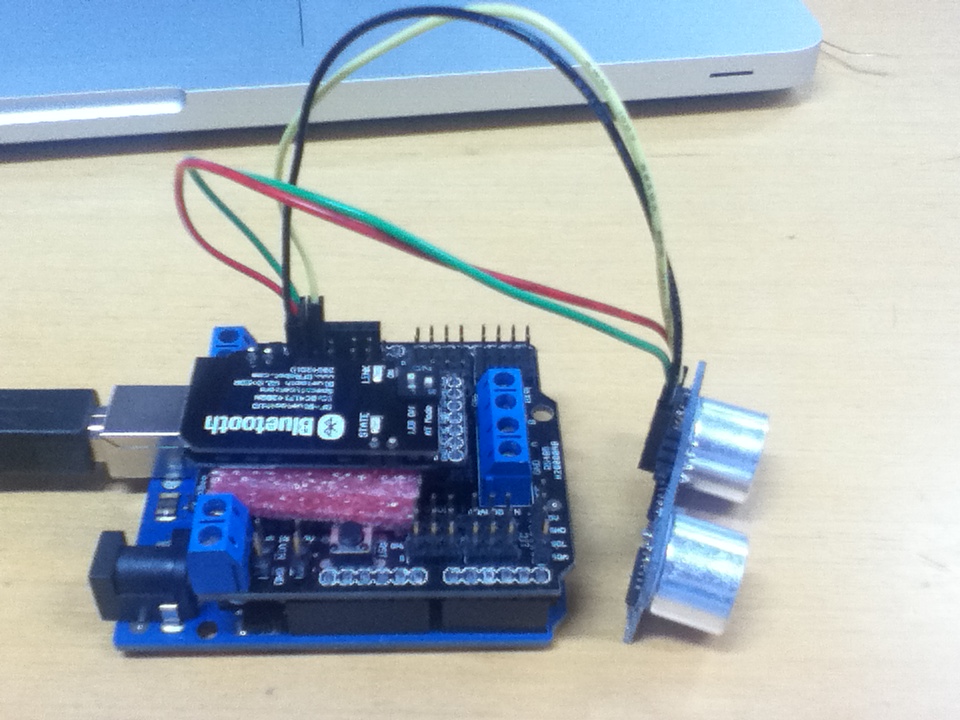
On the expansion board, there are digital and analog pins that are connected to corresponding pins to the Arduino board. Make sure that pins for TRIGGER and ECHO from the ultrasonic sensor are connected to the IO expansion board according to the pin usage in the source code that is used in the previous posting. The picture below shows the assembled module.
Note that the Bluetooth module should be disconnected when a binary is being uploaded. Anyway, the exact same code from the previous posting can be used so that you do not need to upload a new binary.
The next step is that making pairs between the computer and the Bluetooth module. By doing this, from the computer communicating with a Bluetooth module is now just simple serial communications.
Detail steps depend on the operating system. Followings are from Mac OS X. Choose the Set Up Bluetooth Devices menu item. Select the Bluetooth_V3 item.
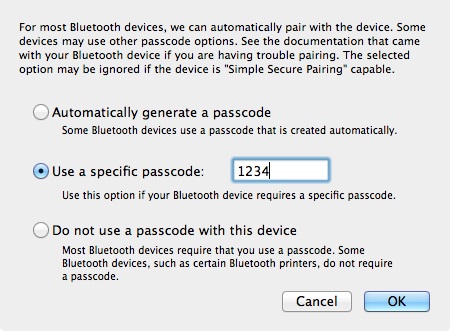
The default passcode of the Bluetooth module is ‘1234.’ When you are prompted use the passcode.
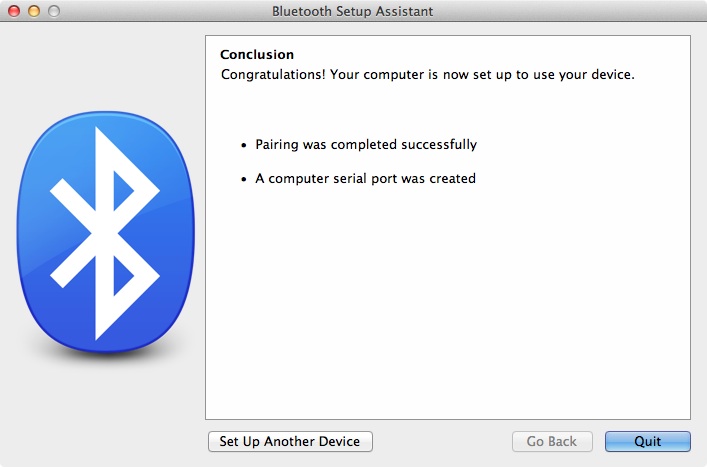
When the pairing is completed successfully the window below will be shown.
Practically we are done. Open any terminal software for serial communication. I recommend CoolTerm that can be downloaded from here.
One extra optional step is visualizing the sensor data. Processing (processing.org) is used to visualize sensor data from the Bluetooth module. I made the visualization code as simple as possible.
import processing.serial.*;

// screen width

int maxWidth = 800;

int maxHeight = 100;

int lf = 10;


// The serial port

Serial myPort;

float gCurDist;

Graph gGraph;


void setup() {

  // List all the available serial ports

  println(Serial.list());


  // Open the port you are using at the rate you want:

  // You may change the index number accordingly.

  myPort = new Serial(this, Serial.list()[0], 9600);

  myPort.bufferUntil(lf);


  // myPort = new Serial(this, "/dev/tty.Bluetooth_V3-DevB", 9600);

  size(maxWidth, maxHeight);

  smooth();


  gGraph = new Graph(700, 80, 10, 10);

}

void serialEvent(Serial p)

{

  String incomingString = p.readString();

  println(incomingString);

  String[] incomingValues = split(incomingString, ',');


  if(incomingValues.length > 2) {

    float value = Float.parseFloat(incomingValues[1].trim());

    gCurDist = value;

    //println(gCurDist);

  }

}

void draw() {

  background(224);

  gGraph.distance = gCurDist;

  gGraph.render();

}

class Graph {

  int sizeX, sizeY, posX, posY;

  int minDist = 0;

  int maxDist = 500;

  float distance;


  Graph(int _sizeX, int _sizeY, int _posX, int _posY) {

    sizeX = _sizeX;

    sizeY = _sizeY;

    posX = _posX;

    posY = _posY;

  }


  void render() {

    noStroke();

    int stemSize = 30;


    float dispDist = round(distance);

    if(distance > maxDist)

      dispDist = maxDist+1;

    if((int)distance < minDist)

      dispDist = minDist;


    fill(255,0,0);

    float distSize = (1 - ((dispDist - minDist)/(maxDist-minDist)));

    rect(posX, posY, sizeX-(sizeX*distSize), sizeY);

  }

}
Ultrasonic Sensor
Ultrasonic sensor test. It works. Nice.
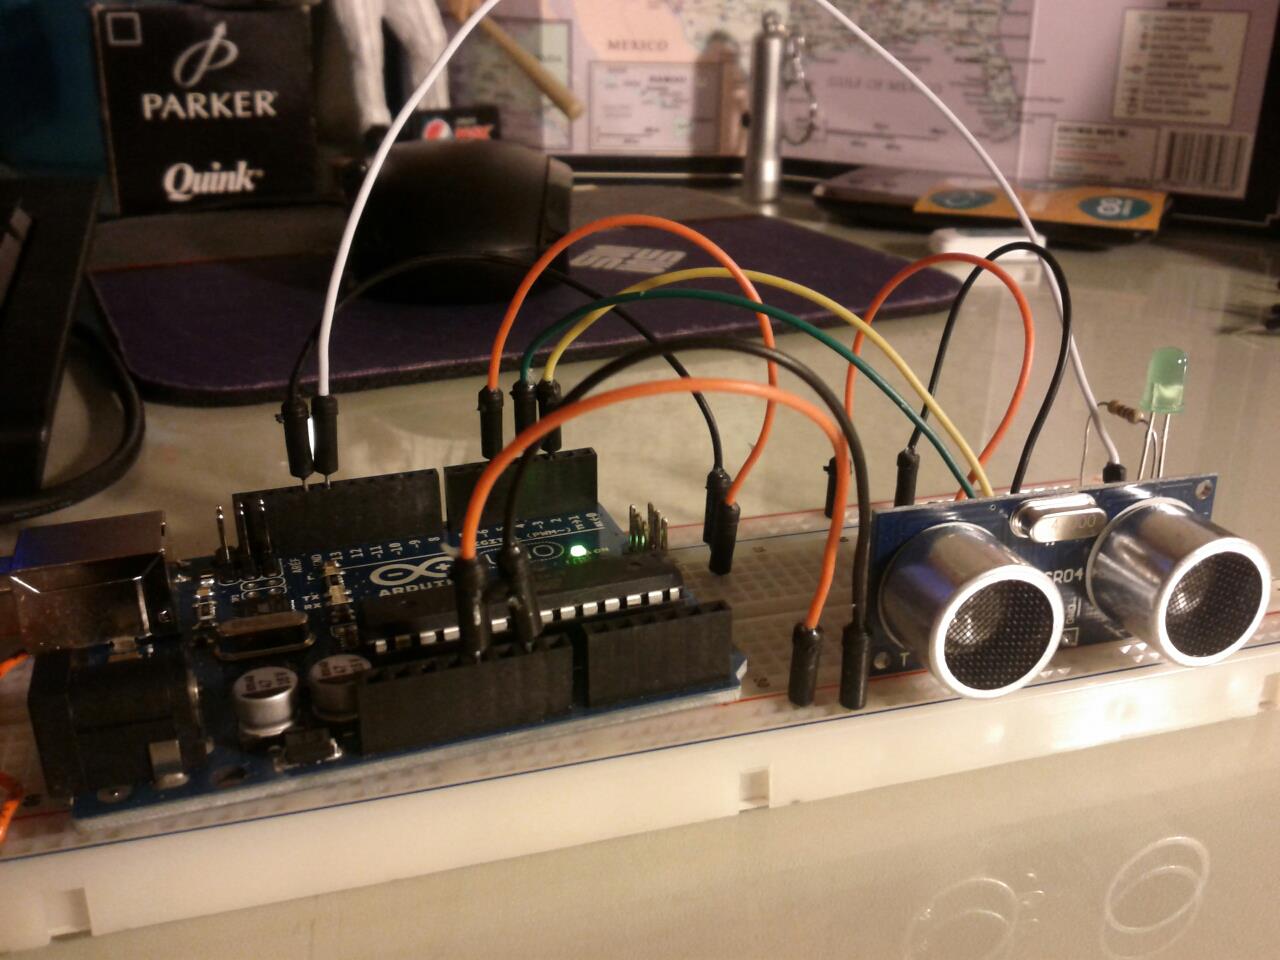
Ultrasonic sensor module is HC-SR04. I purchased this from virtuabotix.com. The company provides a Ultrasonic library.
- Go to https://www.virtuabotix.com/feed/?page_id=1587 and find the Ultrasonic section.
- Download the library.
- Unzip it and copy the unzipped folder to your Arduino libraries folder.
- You may restart Arduino to let it recognize the new library.
- Use an example code for your starting step.
Here is the example.
#include <Ultrasonic.h>

#define TRIGGER_PIN 12

#define ECHO_PIN 13

Ultrasonic ultrasonic(TRIGGER_PIN, ECHO_PIN);

void setup()

{

  Serial.begin(9600);

}

void loop()

{

  float cmMsec, inMsec;

  long microsec = ultrasonic.timing();

  cmMsec = ultrasonic.convert(microsec, Ultrasonic::CM);

  inMsec = ultrasonic.convert(microsec, Ultrasonic::IN);

  //Serial.print("MS: ");

  Serial.print(microsec);

  Serial.print(", ");

  //Serial.print(", CM: ");

  Serial.print(cmMsec);

  Serial.print(", ");

  //Serial.print(", IN: ");

  Serial.println(inMsec);

  delay(1000);

}
Just wire pins as the source code says. Then open the Serial Monitor from Arduino. You will see he raw milliseconds and distance in centimeter and inch.
That’s it.
Hello World from Arduino
Hello World from Arduino. That is this Blink example.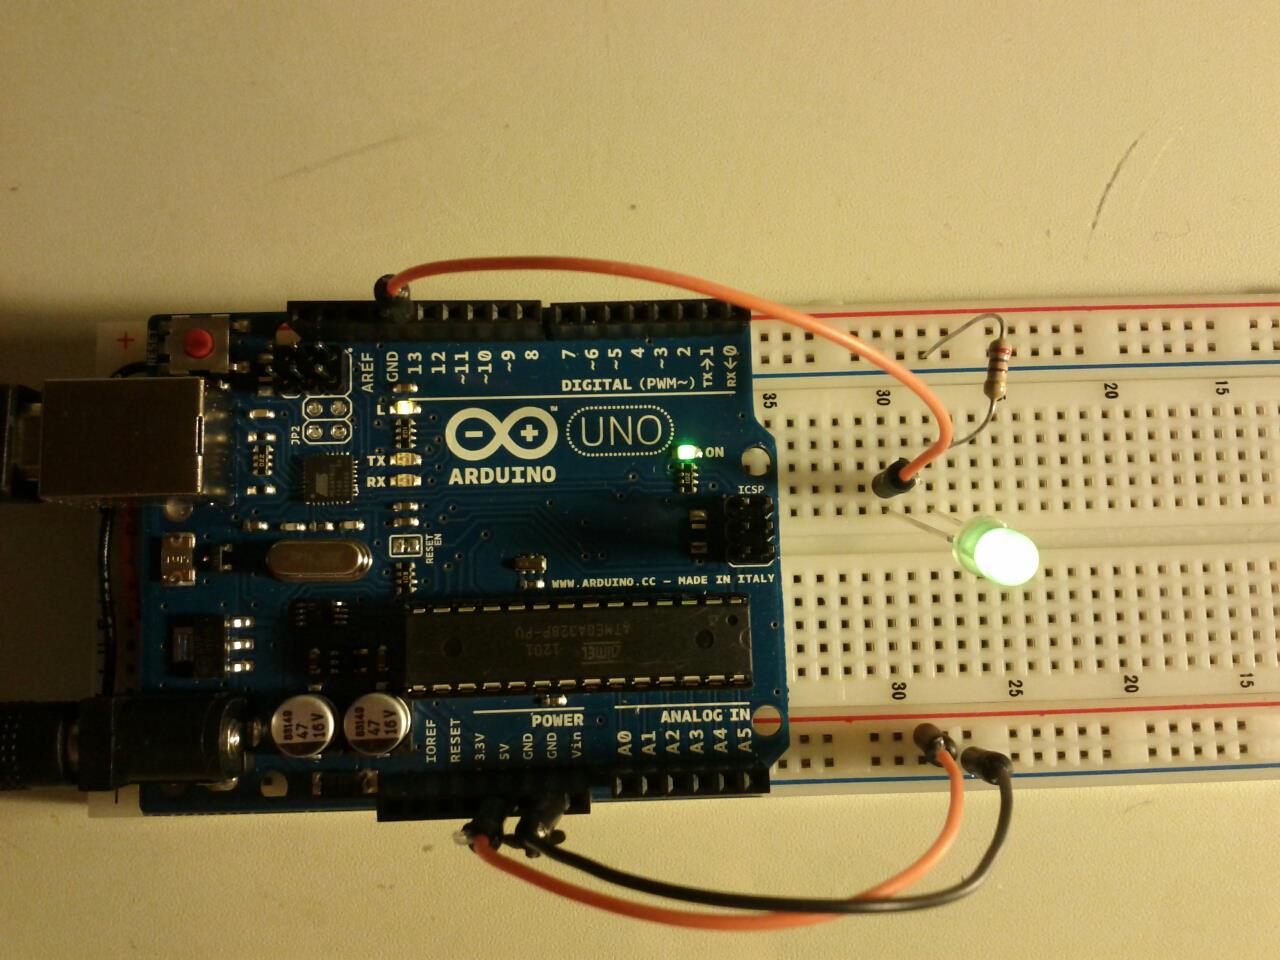
Arduino-based mobile robot platform
I am building an Arduino-based mobile robot platform controlled by smartphones. 
Arduino books
Get my feet wet with Arduino. I like the tiny book, Programming Arduino, Getting Started with Sketches. This book is well organized and pretty much informative. Arduino Cookbook is a good reference book that covers a lot of specific topics. Two project driven books also worth to read and obviously to do.


